There are two main ways of creating a Sales Order through the Vehicle Administrators Toolkit. You can either select the Sales Orders button on the Vehicle Administrators Toolkit or select the Create Order button within a stock record.
Both ways take you through the following process:
When you select the Sales Orders or Create Order button the system will prompt you to do a customer search first.
Search for the required customer and double click the customers name. If you have selected the Sales Orders button the system will prompt you to also select the required vehicle first. This can be either through the Stock List or Price List.
Note: Selecting a vehicle from the Price List will create a stock record with the status as On Order on the stock record.
You will then see the following window:
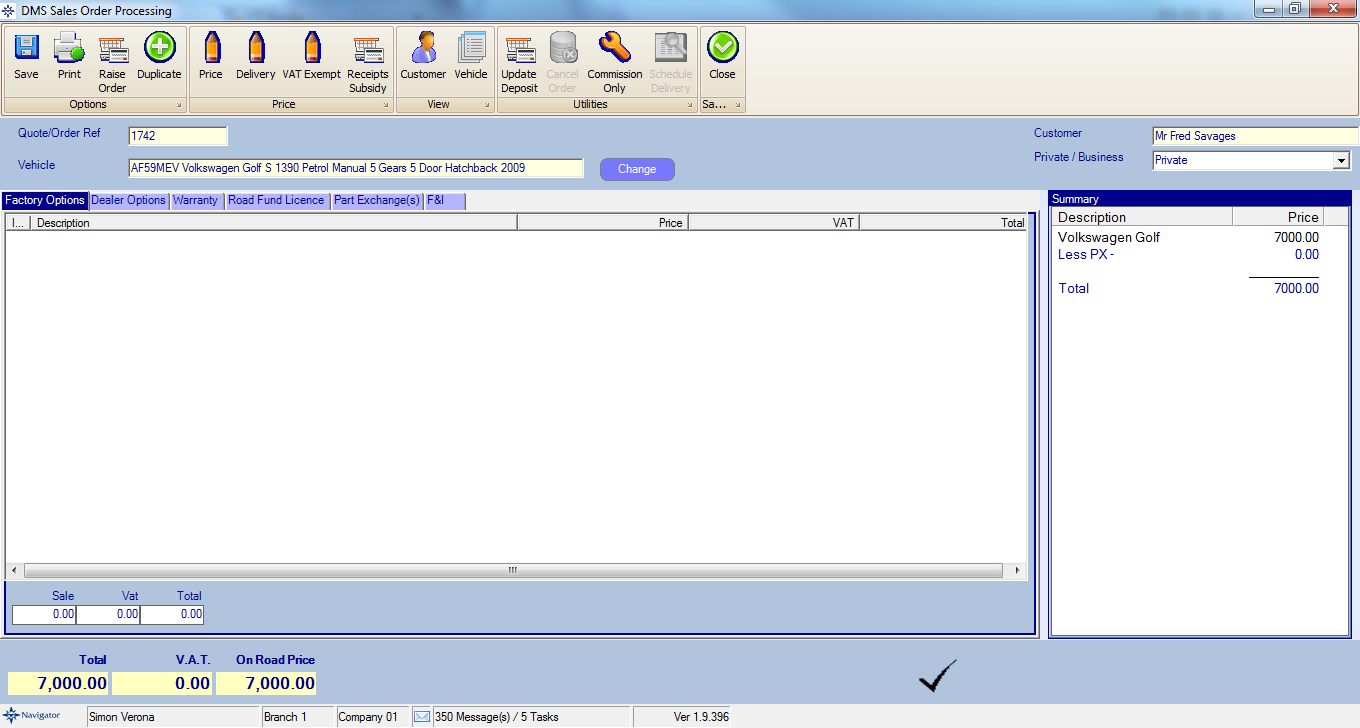
Main Order Options in the grey bar at the top of the screen:
Print - This allows you to print the order
Raise Order - Once the order is complete, select the raise order button
Price - Amend the vehicle price
Delivery - Add or amend the delivery cost
VAT Exempt - Make the deal VAT free
Receipts Subsidy - Add Receipt subsidies
Customer - View Customer Record
Vehicle - View Stock Record
Update Deposit - Add or amend the deposit value
Commission Only - Enables creation of a sales order when no vehicle is being directly sold and only a commission on a sale is being charged
Main Order Option on the blue tabs:
Factory Options - This will show the factory options that have been selected for this vehicle
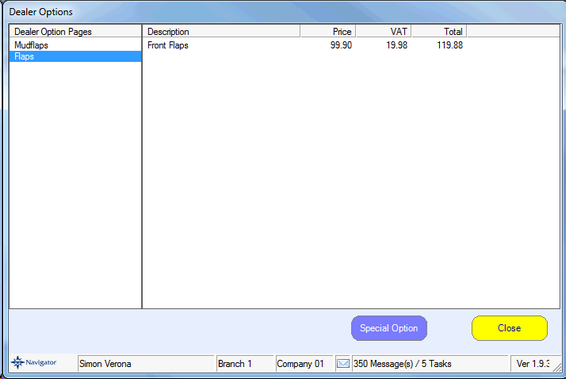
Dealer Options - You can add any required dealer options on this section. To do so double click the Add New Dealer Option line.
Double click the required option to add it to the order and then press the yellow close button as shown on the window below:
Warranty - Select the Warranties button to view the warranty options. The below window will appear:
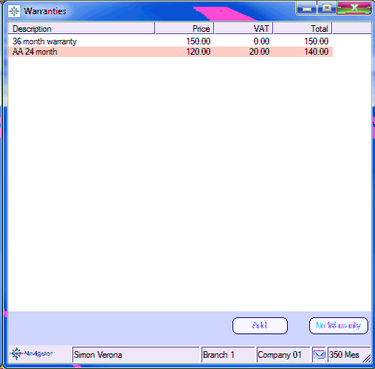
Double click the required warranty or select the Add button to add a new warranty.
If you right click on any of the warranties you will get an option to discount the price.
Road Fund Licence - Select the RFL button to view the RFL options. The below window will appear:
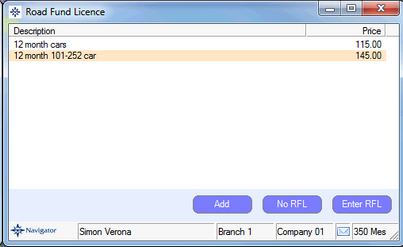
Double click the required RFL or select the Add button to add a new RFL.
Part Exchanges - Please click here to view the how to add a part exchange section of the manual.
Finance - Please click here to view the how to add a finance company section of the manual.
Once you have completed the order select the Raise Order button. You will see the following window:
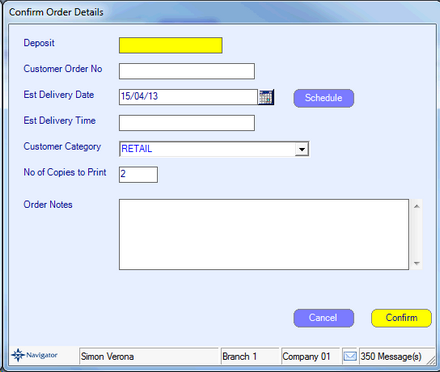
- Enter the deposit amount if required.
- Enter the order number if required.
- Enter an estimated Delivery date and time.
- Select the Customers Category.
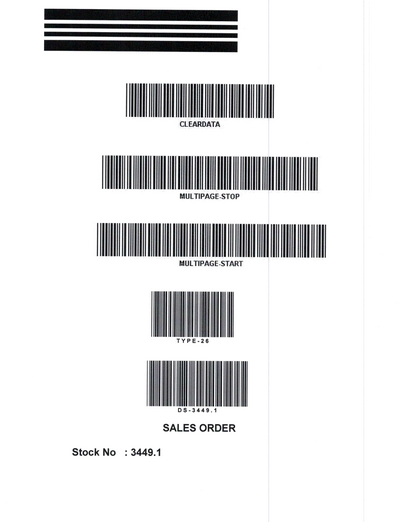
- Enter the number of copies of the order that you would like to print - When printing (providing you have the scanning utility) the system will print a Batch sheet for the Sales Order. This will allow the Sales Order to be scanned back into the system after it has been signed.
The document will look similar to the below:
|
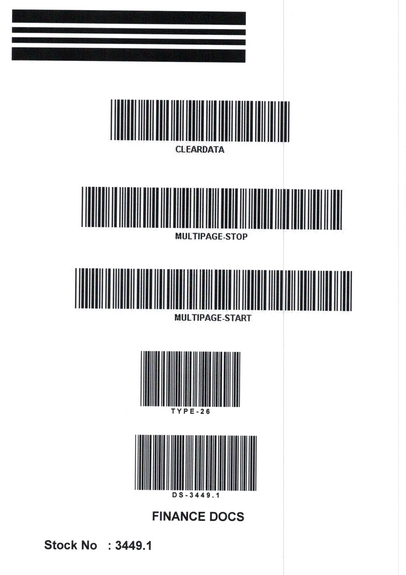
If it is Finance deal, it will also print out a Batch sheet for the Finance Document so that you can scan the finance documents into the system.
Once these documents have been scanned they will be stored on the Images tab.
The document will look similar to the below:
|
- Select the confirm button to complete.
You will then see the following window:
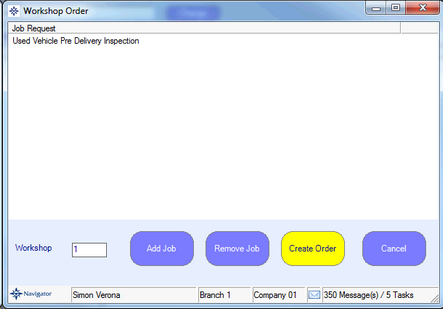
This will give you the option to add a workshop job request against the deal. For further information please click here.
Select Cancel to continue to the stock record.
The stock record will now show the vehicle as sold in the status bar.